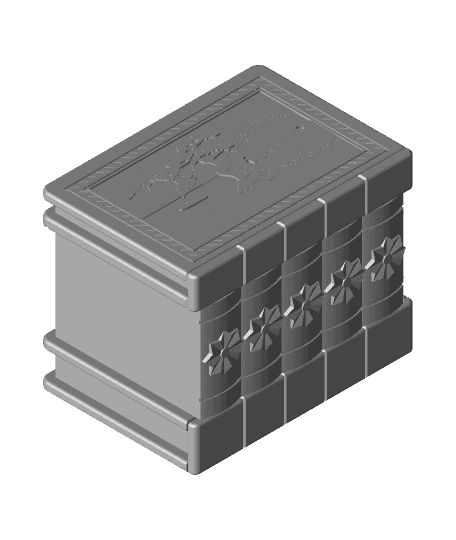
This box is modeled from a souvenir my grandfather brought back from Korea back in the fifties. I was always fascinated with the secret of how the box opened. The box was made of wood and held together with glue but has started to apart so I wanted to capture the secret before its lost forever. The scene on the top of the box is a portrait of the Korean countryside. I assume the volcano shown must be the Halla Shield Volcano south of the Korean Peninsula. Growing up I always thought the boat shown in the water was a battleship but it's probably just a fishing boat.
Print Instructions If you print in the orientations provided supports will not be required for any of the parts. I would use a brim on the key to keep it stable while printing. If you print the key with more then two shells, you are going to have a issue with curling which will cause the key to get knocked over. I print with four shells up until the key splits, then I switch to two shells. There are two versions of the drawer, one with a small handle and one that uses a spring. I printed all the parts out of PLA with the exception of the spring which was printed out of ABS. The spring is one shell thickness so make sure you have thin walls selected in your slicer. If you have fit issues its probably a result of elephants foot because your first layer is too low. Be sure to dial in your first layer before printing.
Assembly After you have all the parts printed see the link below for a video containing the assembly instructions. Besides the printed parts you will need one piece of 1.75mm filament 5 inches long, a standard pen spring, and some super glue. The assembly is very easy just make sure you have all the parts in place before you apply the glue.
Demonstration video: https://youtu.be/hrmvgV9LExE Assembly video: https://youtu.be/ze1X3e2B44o
Here is a Affiliate link to the filament used to make the box in the video: https://amzn.to/2qHkOjD
FYI... Don't print the box as assembled, its for reference only.
Support and Licensing If you would like to help support more free models, or gain permission to sell physical copies of my models, consider joining my Patreon
